If you’re looking to Convert Logo to PXF File for smooth, accurate stitching on BAI embroidery machines, you’re already on the right path to professional-quality embroidery. A simple image file like JPG, PNG, or PDF looks great on screen, but your embroidery machine needs much more than just pixels; it needs precise stitch data. That’s where expert PXF file conversion steps in. Whether you’re running a full-fledged embroidery shop or just getting started with BAI machines, proper logo conversion is the key to clean results, fewer errors, and faster production.
In this complete guide, we’ll break down everything you need to know about PXF files, logo conversion for BAI machines, why professional digitizing matters, and how flawless stitch files can transform your embroidery workflow.
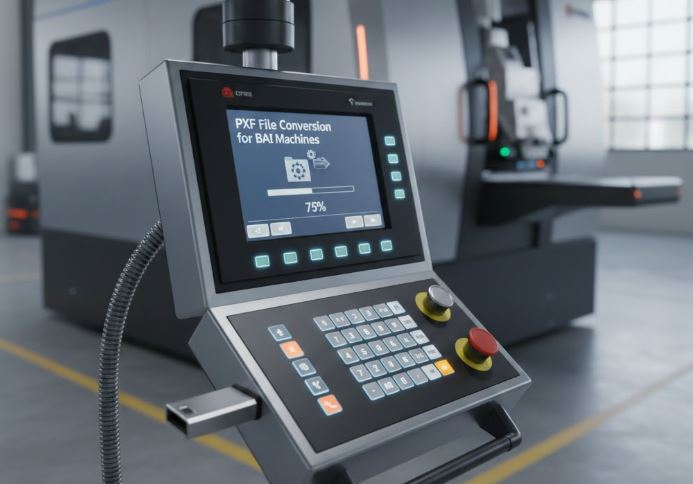
What Is a PXF File and Why Is It Important for BAI Machines?
PXF is the native embroidery file format used by BAI embroidery machines. Unlike basic image files, a PXF file contains:
- Stitch paths
- Stitch type information
- Thread color sequences
- Trim and jump commands
- Underlay instructions
- Machine movement directions
BAI machines depend entirely on PXF files to know exactly how to stitch your design. Without proper conversion, your machine simply won’t understand what to do with your logo.
Why You Can’t Use a Logo Image Directly on a BAI Machine
This is one of the most common misunderstandings in embroidery. Image files like:
- JPG
- PNG
- AI
Are made of pixels or vectors not stitches. A machine can’t “guess” how to turn color blocks into embroidery. It needs digitized stitch instructions, which are manually created using professional embroidery software.
That’s why conversion is not just file changing, it’s skilled embroidery engineering.
What Does Logo to PXF File Conversion Actually Mean?
When a logo is converted to a PXF file, it goes through a complete digitizing process, where every part of the artwork is:
- Manually traced
- Assigned a stitch type
- Given proper stitch direction
- Adjusted for fabric type
- Optimized for machine speed
- Tested for clean production
This ensures the logo stitches exactly as it appears without distortion, gaps, or thread breaks.
Why High-Quality PXF Conversion Matters
Bad digitizing doesn’t just affect appearance—it affects your entire production process.
Poor conversion can cause:
- Thread breakage
- Needle damage
- Birdnesting under fabric
- Uneven fills
- Misaligned lettering
- Wasted garments
High-quality PXF conversion ensures:
- Smooth machine operation
- Consistent stitch count
- Clean edges
- Professional finish
- Faster completion times
In short, quality conversion saves both time and money.
Common Uses for Logo to PXF Conversion
Professional logo to PXF conversion is widely used for:
1. Custom Business Logos
For:
- Work uniforms
- Staff apparel
- Promotional wear
2. Sports Team Branding
For:
- Jerseys
- Caps
- Training kits
3. Promotional Products
Including:
- Bags
- Towels
- Aprons
- Jackets
4. Fashion & Streetwear
For:
- Hoodies
- T-shirts
- Luxury embroidery branding
Each use case demands accurate stitch placement and professional-level detail.
Understanding Stitch Types Used in PXF Files
A well-digitized PXF logo includes different stitch types for different design elements:
- Satin stitches – Perfect for text and borders
- Fill stitches – Best for large solid areas
- Running stitches – Used for fine outlines and small details
Balancing these properly is what separates amateur files from professional ones.
Fabric Type & Its Role in PXF Conversion
Different fabrics behave differently under the needle. A professional digitizer always adjusts the PXF file based on:
| Fabric Type | Special Adjustments |
| Cotton | Standard density |
| Polyester | Stretch compensation |
| Caps | Curved surface offset |
| Denim | Heavy underlay |
| Leather | Low density |
| Fleece | Deep underlay |
Ignoring fabric type leads to puckering, distortion, and poor stitch quality.
Step-by-Step Process to Convert a Logo to PXF File
Here’s how professional logo to PXF conversion is done:
1. Artwork Review
The logo is analyzed for:
- Complexity
- Colors
- Line thickness
- Fine details
2. Path Creation
Each section is manually traced to form stitch routes.
3. Stitch Assignment
Stitch types are applied based on the design structure.
4. Underlay Setup
Foundation stitches are placed to stabilize the fabric.
5. Density & Direction Control
Prevents overlapping, thread breaks, and fabric damage.
6. Color Sequencing
Ensures efficient stitching with minimal thread changes.
7. PXF Export & Testing
The final file is tested for clean stitching before delivery.
Why Auto Logo to PXF Converters Often Fail
Although online auto converters may look convenient, they usually:
- Create excessive stitch counts
- Ignore fabric behavior
- Misread logos with gradients
- Overlap stitches improperly
- Cause machine vibration
These issues lead directly to production failures. Manual digitizing always delivers safer and more accurate results.
PXF vs Other Embroidery File Formats
Here’s how PXF compares with other common formats:
| File Format | Machine Type |
| PXF | BAI |
| DST | Tajima |
| PES | Brother/Babylock |
| JEF | Janome |
| EXP | Melco |
| VP3 | Viking |
Every embroidery machine has its own language. A file made for one system won’t perform properly on another without proper conversion.
Hat Logo Conversion for BAI Machines
Caps and hats are one of the hardest items to embroider. PXF conversion for caps requires:
- Strong underlay stitches
- Push-pull compensation
- Seam avoidance
- Controlled stitch direction
- Foam-friendly stitch planning for 3D puff
A poorly digitized hat logo leads to lifting stitches and ruined caps.
3D Puff Logo to PXF Conversion
3D puff embroidery requires specially engineered PXF files with:
- Wide satin stitches
- Foam tack-down paths
- Clean knockdown stitching
- Perfect stitch spacing
This technique should only be handled by experienced digitizers.
Small Logo & Text Conversion Challenges
Small logos and fine lettering require:
- Micro stitch spacing
- Reduced density
- Correct thread tension planning
- Sharp stitch angles
Poor digitizing at small sizes results in unreadable text and wasted garments.
What Affects the Cost of PXF Logo Conversion?
Pricing is based on:
- Design size
- Total stitch count
- Number of colors
- Design complexity
- Urgency of delivery
Simple logos cost less, while detailed designs with shading and gradients cost more due to labor and skill required.
How Long Does Logo to PXF Conversion Take?
Typical turnaround times include:
- Same-day delivery
- 12–24 hour standard service
- Emergency rush delivery (2–6 hours)
High-quality services always test files before sending them to you.
How to Prepare Your Logo for Best PXF Results
For best outcomes, always provide:
- High-resolution image
- Transparent background
- Correct design size
- Fabric type
- Placement location
- Preferred thread colors
Good input ensures clean, accurate output.
Mistakes That Ruin PXF Logo Files
Avoid these common errors:
- Using low-resolution images
- Ignoring fabric type
- Overloading stitch density
- Using too many color changes
- Not testing files before production
Professional digitizing eliminates these risks.
Who Needs Logo to PXF Conversion?
This service is essential for:
- Commercial embroidery shops
- Uniform manufacturers
- Promotional product companies
- Fashion brands
- Sports teams
- Print-on-demand businesses
If you use BAI machines, proper PXF conversion is not optional it’s mandatory.
How High-Quality PXF Files Increase Profit
Professional PXF files deliver:
- Faster production
- Fewer machine stoppages
- Minimal thread breaks
- Less labor intervention
- Higher customer satisfaction
- Strong brand reputation
Better stitch files = more repeat customers.
Bulk Production & PXF Optimization
For large production runs, poor files can shut down operations. Optimized PXF files ensure:
- Consistent stitching across multiple heads
- Lower maintenance costs
- Even thread tension
- Long machine lifespan
This is crucial for factories and volume-based embroidery businesses.
The Future of PXF Conversion
While AI tools are improving, they still cannot properly handle:
- Complex logos
- 3D puff embroidery
- Fabric behavior
- Cap embroidery
- Advanced underlay planning
Human expertise remains essential for professional embroidery results.
Final Thoughts
If you want smooth, sharp, production-ready embroidery on your BAI machines, high-quality logo to PXF file conversion is not just helpful, it’s essential. Professional digitizing protects your machines, saves your materials, speeds up production, and delivers the flawless embroidery your customers expect. From simple business logos to complex branding designs, the quality of your PXF file defines the quality of your final product.
For reliable, clean, and production-optimized PXF logo files trusted by embroidery professionals worldwide, businesses continue to rely on the expert services provided by Digitizing Buddy.